
The U Connect Glove
It’s All Abou U and how you connect
INTRODUCTION
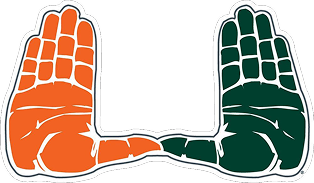
The U Connect Glove is an interactive wearable that celebrates the University of Miami’s iconic “U” hand gesture. The project explores how wearable technology can express school spirit in an interactive way.
Inspiration

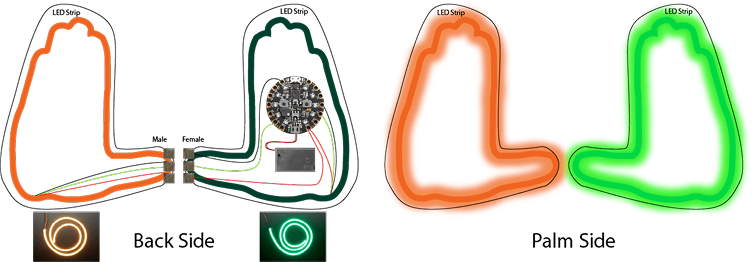

This sketch shows the early idea for placing the CPX and battery. The LED strip goes around the glove. The thumb area uses conductive fabric to complete the circuit when it touches the thumb on the other glove.

Materials
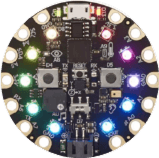
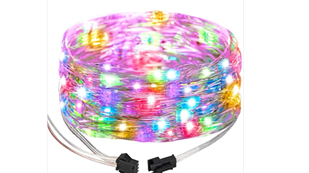
Built with Circuit Playground Express, conductive fabric, elastic fabric, EVA foam, and LED lights.


I used EVA foam to maintain the glove’s structure. It gives a finished look compared to cardboard.
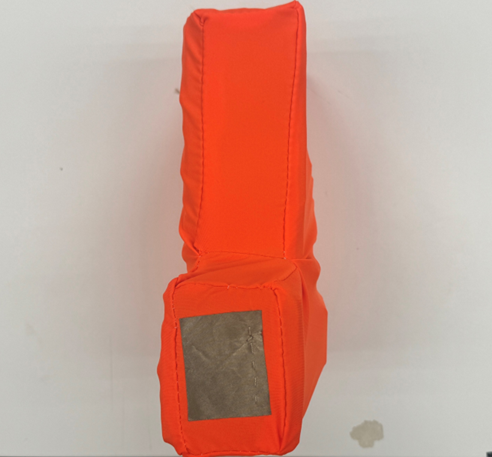
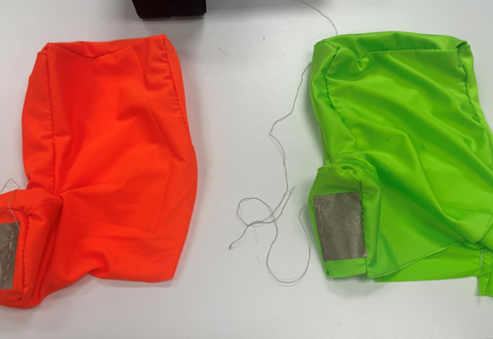
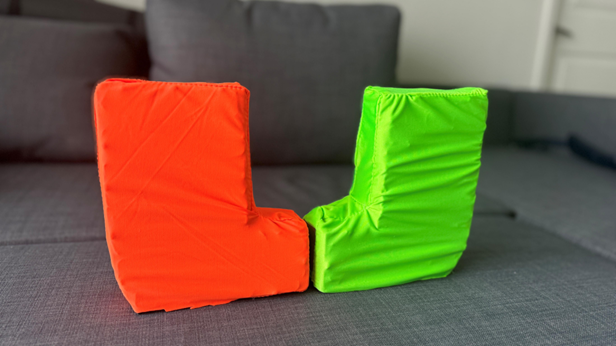
I made two glove shells and covered them with orange and green elastic fabric to improve the appearance and hide the wiring.
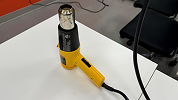
A heat gun was used to flatten the surfaces of the foam.
Key Features
Touch:
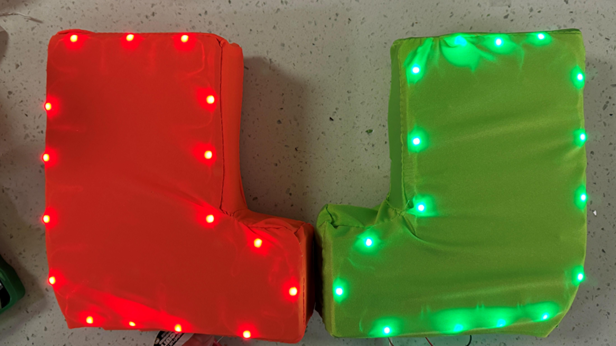
Touching the thumbs together triggers a capacitive input, and the LEDs light up.
Motion:
Shaking your hands up and down adds a flowing light effect.
Social Play:
You can wear both gloves or share one with someone else.
What Changed:
•Started with one-board prototype to test interaction
•It worked, but wiring was messy
•Moved to two-board version for clean design
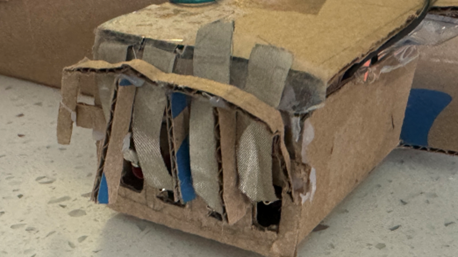
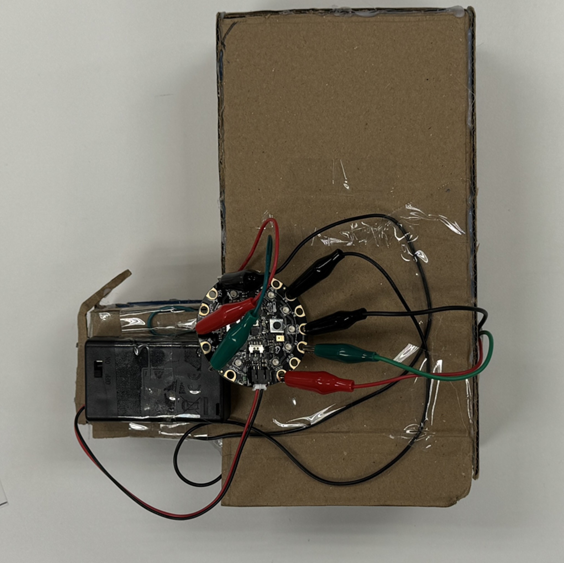
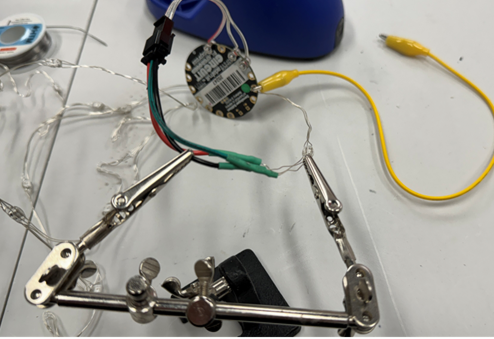
Prototype V1.0
I made a glove with cardboard and connected it to the CPX using alligator clips.
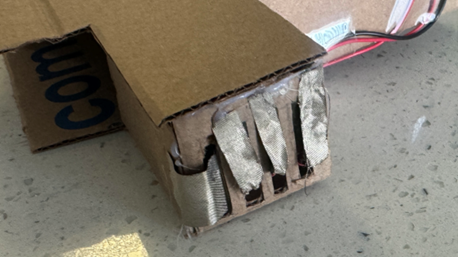
The thumb has a slot with conductive fabric to touch the other glove.
Wires were fixed with tape, and a test LED was placed in the palm side.
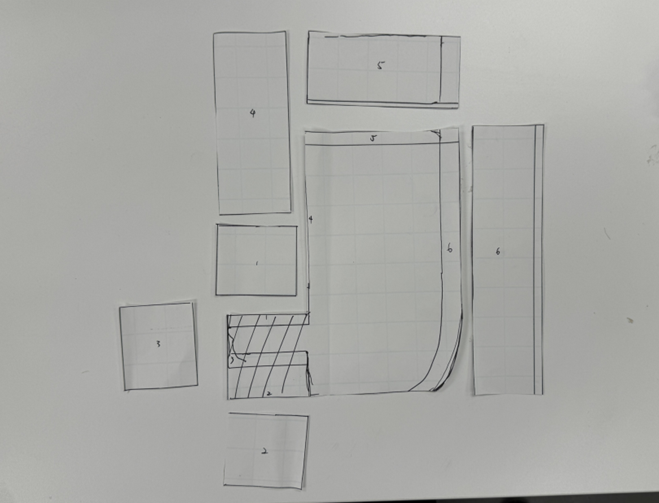
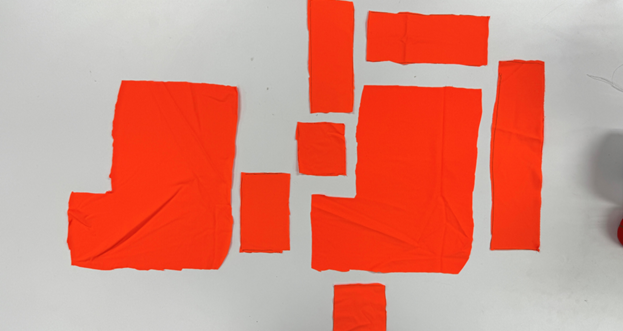
Sewing Pattern
The first prototype had a solid pattern, I traced it onto paper and used that to cut the EVA foam. I took out the extra wrist part so that the two gloves can better fit into a U-shape.
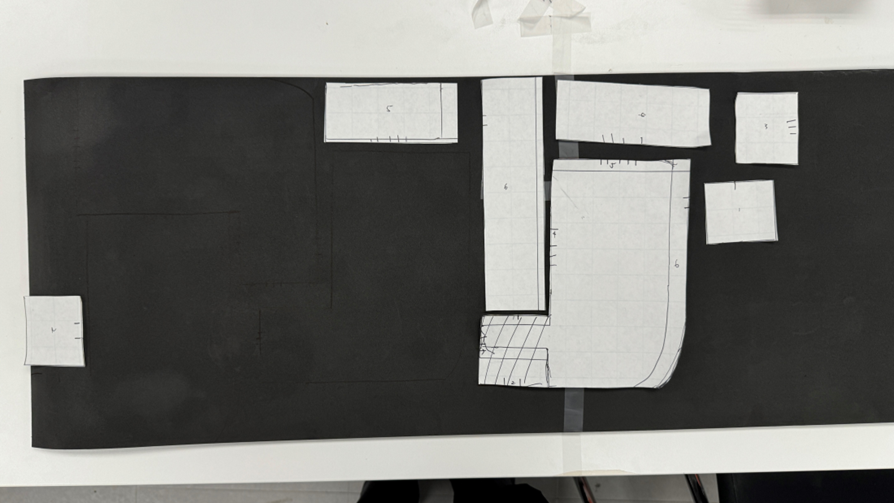
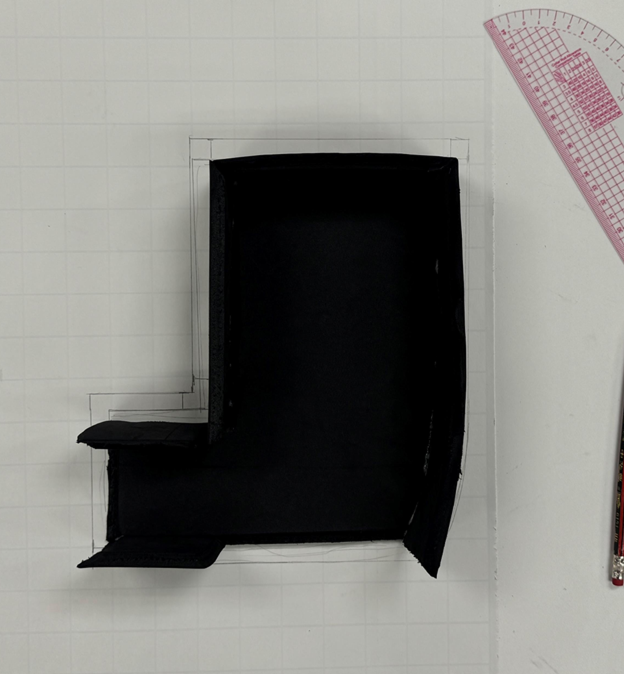
EVA Foam Cutting
I cut the EVA foam with an X-Acto knife, adding angled bevels for smoother hot glue bonding.
Once the EVA foam glove was finished, I traced it to create the outer layer pattern and cut spandex to match, ensuring a tight fit without warping the glove's shape.
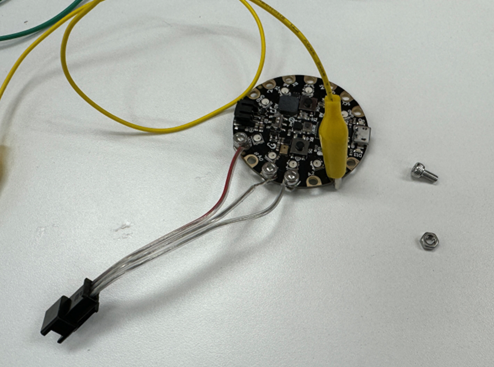
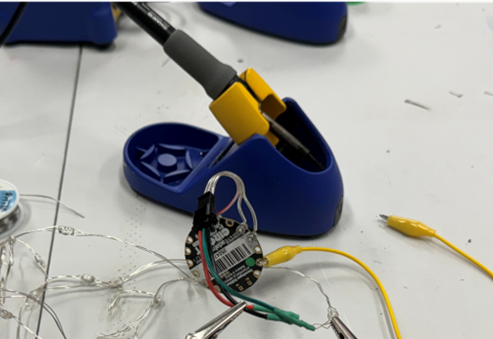
Wiring
•Used screws and nuts to connect LED strips to the CPX, instead of alligator clips
•Soldered connections with correct polarity for light flow animation
•Protected solder points with heat shrinking tubes
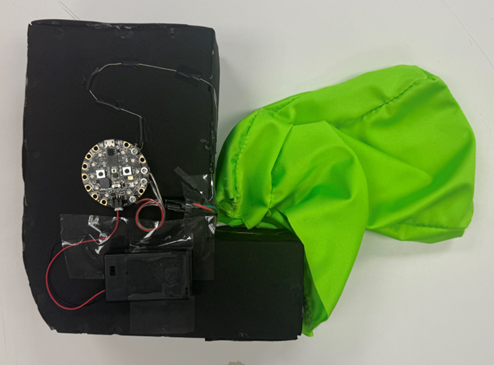
•Taped the wiring and CPX to the back of the EVA foam gloves
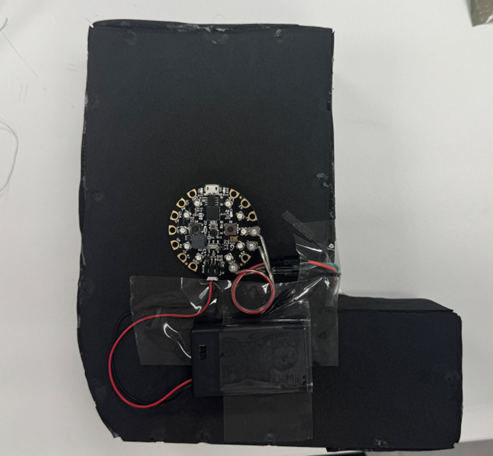
Final Assembly V2.0
•Put the fabric glove over the EVA foam glove
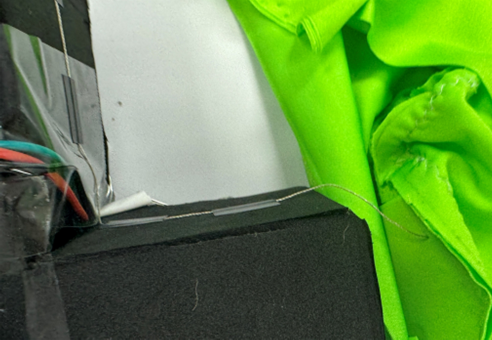
•Ironed the conductive fabric onto the thumb.
•Connected the fabric to the CPX using conductive thread
•Thread goes through the glove to reach the board inside

Code & Testing
The LED glove only lights up when it's worn and touched with the other hand. If it's just sitting on a table and touched, it doesn't respond.
At first, I thought this meant the circuit was broken, but I later realized that capacitive sensing only works when the loop is closed.
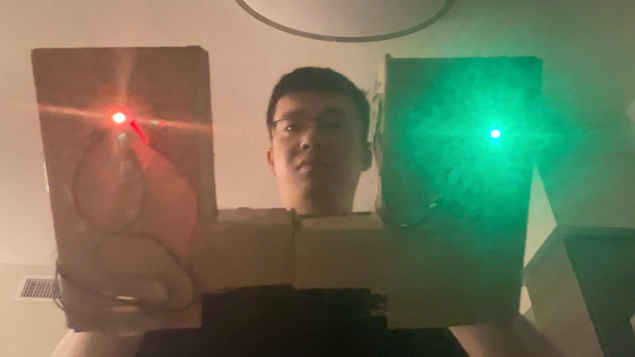
Why the Previous Prototype Worked
•Only one CPX board controlled both gloves
•Second glove was a wired extension with LEDs
•Power, ground, data, and touch were connected to the main board
•Capacitive touch worked through a closed loop
But…
• Contact between gloves was unstable due to rough construction
• Wiring was messy
• Not scalable for final design
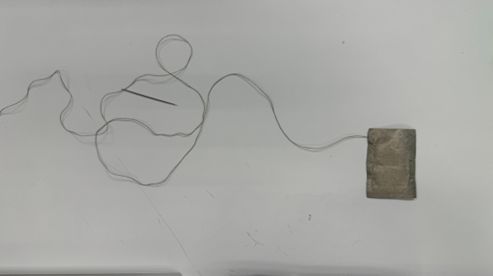
Fix Attempted V3.0
Internal wire connected to a secondary pad placed close to the main touch point
No direct connection to the main touch pad
During glove-to-glove contact, both the main and secondary pads touch the other glove’s pad
LED only triggers when gloves intentionally touch
Prevents false activation when wearing
Understanding Z-Axis Shake Detection
•Moved the board up and down, but shake was detected on the Z-axis
Expected Y-axis to respond, but axes follow the board's orientation
When held vertically, up-down motion aligns with the Z-axis
Z-axis is correct for detecting shake in this setup
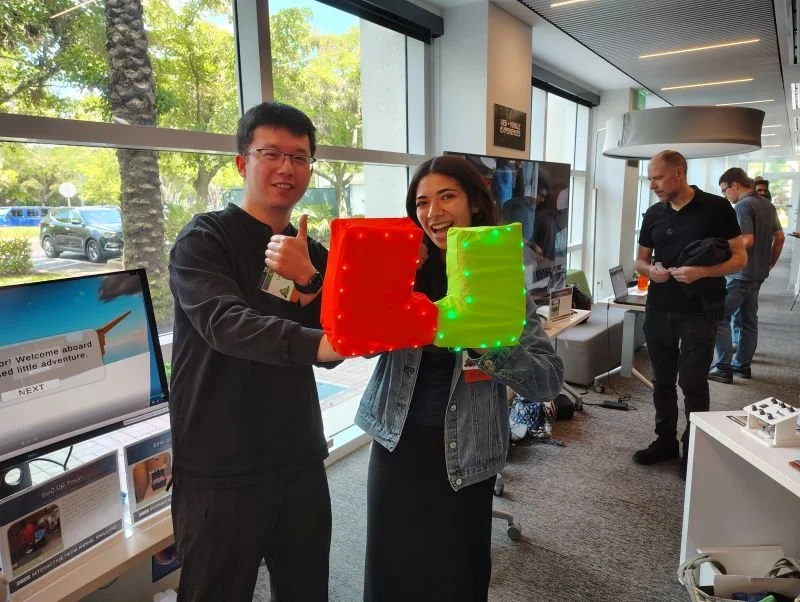
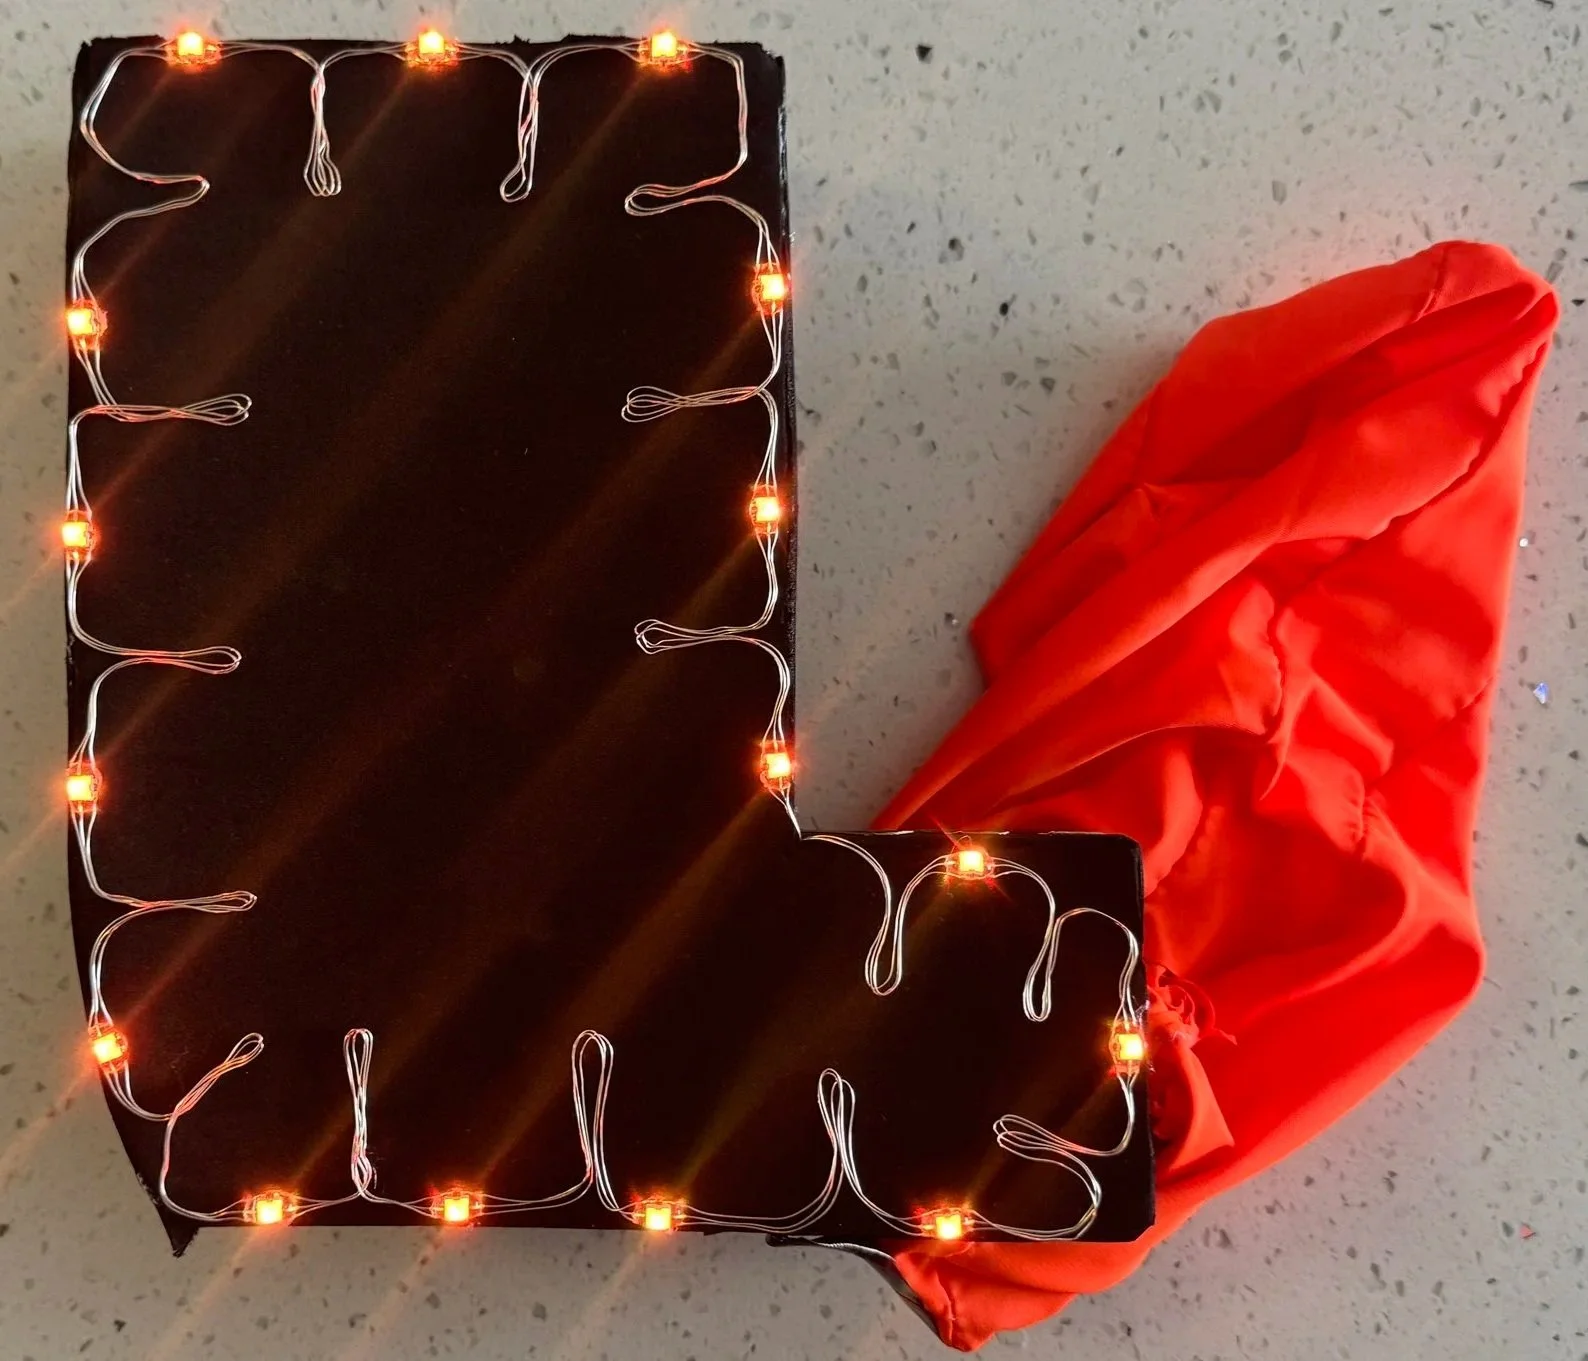
Final Wearable
Reflection
What did you try to do?
I tried to create an interactive glove using gesture-based lighting effects.
Did it work?
Yes! It worked as expected after several iterations and fixes.
What did you learn?
I learned how capacitive sensing works and why a closed circuit is needed for reliable input.
How do you feel about the outcome?
I'm happy with the final result. It's fun and a meaningful way to celebrate school spirit.